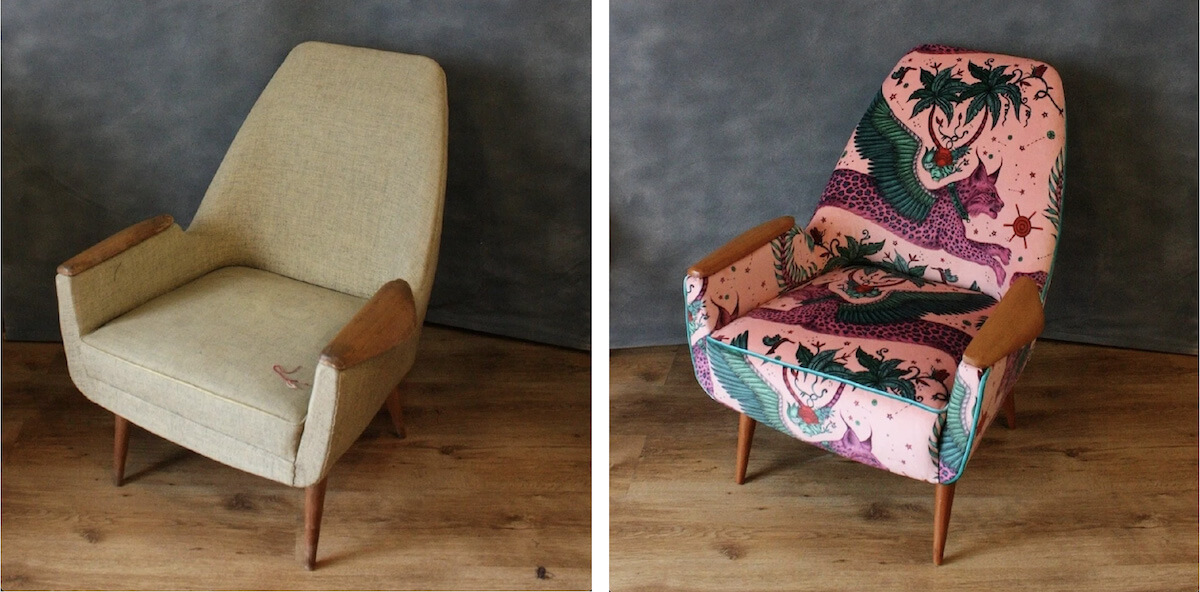
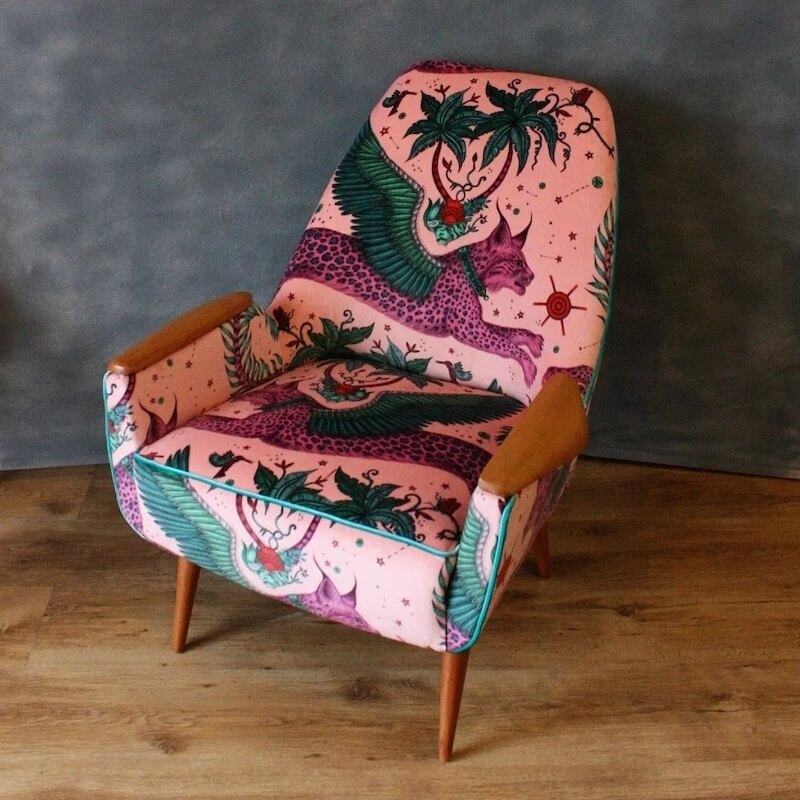
We all have that one furniture piece in our homes with the old, tattered upholstery. The kind of fabric you would not want your Mom to see! Well, don’t worry because there are plenty more stylish covers out on the market today than when she was young and perhaps even better suited for her needs now too – but let me show how easy this process is first before suggesting what type might work best based off personal preference or room decorating theme.
Can I reupholster a chair by myself?
The answer is YES! You can totally reupholster a chair by yourself. I am here to tell you that it is not as difficult as you think and definitely worth the effort – both in cost savings over buying a new one and in terms of satisfaction from completing the project.
Here is a list of supplies and tools you will need to successfully reupholster your furniture piece:
-Staple gun
-Upholstery fabric
-Scissors or rotary cutter
-Measuring tape
-Plywood or hardboard (optional)
-Foam padding (optional)
-Batting (optional)
Steps to reupholster a chair
- Remove the old fabric
The first thing you will want to do is remove the old fabric. This can be done by gently pulling it away from the surface of the chair and taking out any staples that might be holding it in place. If the fabric is glued on, you may need to use a putty knife or similar tool to loosen it.
Remove all the staple or tacks are attaching the old material to the chair. If the upholstery is glued on, you will need to use a putty knife or something similar to loosen it.
If your chair is newer, you may not have to replace the cushion, but if it is old, you will probably want to.
Strip the seat down to the wooden frame if you’re adding new foam. This will give you a clean slate to start with and ensure that your new upholstery will lay smoothly.
Sand the seat frame if it is unfinished wood or if the old paint is chipped. You want to provide a smooth surface for the new fabric.
Wipe down the seat frame with a damp cloth to remove any dust from sanding.
2. Cut the new fabric
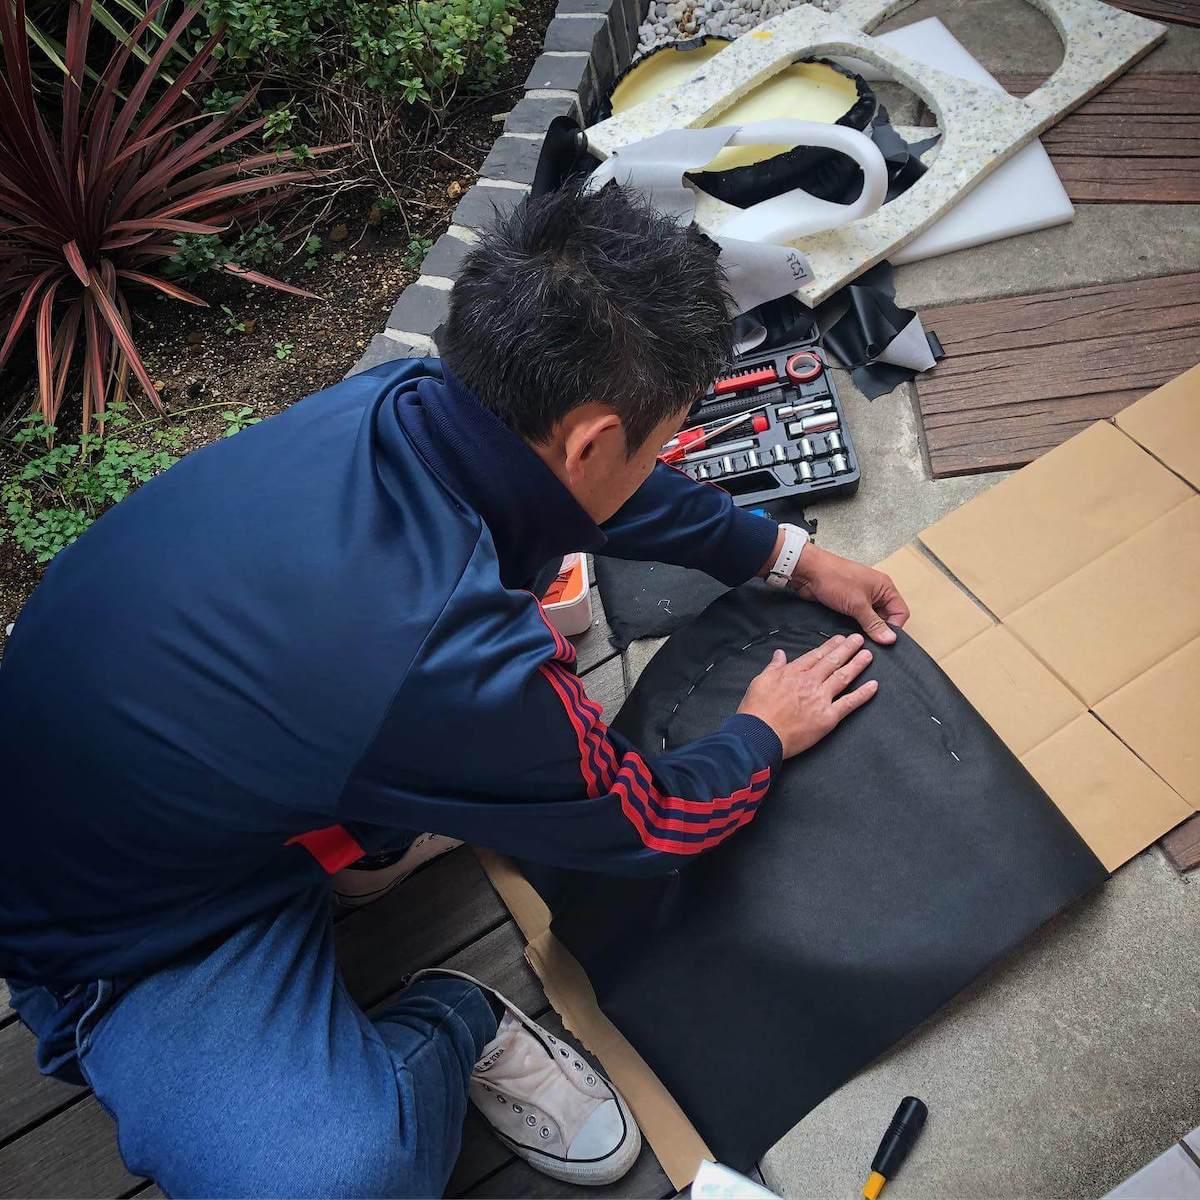
Now it is time to select and cut your new upholstery fabric. You will want to make sure that you have enough fabric to cover the entire surface of the chair plus an extra inch or two on each side. If you are using a patterned fabric, you will also take into account the repeat pattern when cutting.
3. Add foam and padding
If you are using new foam or padding, now is the time to add it to the chair. Cut the foam to size and fit it snugly into the seat. You may want to use a staple gun to secure it in place.
Add batting (optional)
Batting is a thin layer of fabric that is often used in upholstery projects. It adds a bit of softness and can help smooth out any wrinkles in the fabric.
Work you way out from the centre staple, leaving a little space at the corner to make sure the fabric isn’t too tight when you get to that point.
When you reach the corners, fold the fabric like you would wrapping a present and then staple it in place.
Cut off any excess fabric and then admire your handiwork!
Cut the batting to size and fit it over the foam or padding. For the corners, pull the padding towards the center of the frame and staple.
4. Attach the new fabric
Once you have your new fabric cut out, it is time to start attaching it to the chair. Begin by stapling one side of the fabric in place and then pulling it tight before stapling down the other side. Repeat this process until the entire surface is covered.
Start by cutting your fabric to size, allowing for about 2-3 inches of excess on all sides. Place the fabric wrong side up on a flat surface and center your chair frame on top of it. Begin stapling the fabric into place, working from the center of the chair outwards. Be sure to pull the fabric taut as you go to avoid any bunching or wrinkles.
If you are using a patterned fabric, you will want to make sure that the design is centered and symmetrical before stapling it in place.
Run your hand over the front as you go to tighten the fabric. Leave the few inches at the corners.
If your initial center staple is too loose, just remove it and staple again. For the corner, pull the center towards the middle and staple. Fold over one edge and staple to form a pleat. Then fold over the other side to form a second pleat. Repeat for all the corner.
Trim off any excess fabric and then give your newly upholstered chair a good pat down. Sit back and enjoy your handiwork!
5. Attach the dust cover
If you are using a dust cover, now is the time to attach it. The dust cover is a piece of fabric that goes underneath the main upholstery and helps to protect it from dirt and debris.
Cut the dust cover to size and then staple it into place around the bottom edge of the chair frame. Be sure to pull the fabric taut as you go to avoid any wrinkles or bunching.
Trim off any excess fabric and admire your newly upholstered chair!
6. Add stuffing to the newly-sewn cover
Slip it over the chair. Tuck in any excess fabric around the base of the chair and staple into place.
Now sit back and enjoy your handiwork!
7. Put everything back together and enjoy your new, reupholstered chair!
If you’re looking to add a bit of personality to your home décor, reupholstering a chair is a great way to do it! Not only will you be able to choose from a wide variety of fabrics, but you’ll also get the satisfaction of knowing that you did it yourself. Plus, it’s not as difficult as it may seem. With a little time and effort, you can easily give an old chair a new lease on life.
There is no one “easy” way to reupholster a chair, as the process will vary depending on the type of chair you are working with. However, in general, the easiest way to reupholster a chair is to remove the old fabric from the frame of the chair, add new padding or foam if necessary, and then staple or sew the new fabric into place. Once you’ve done this, you can simply put everything back together and enjoy your newly upholstered chair!


